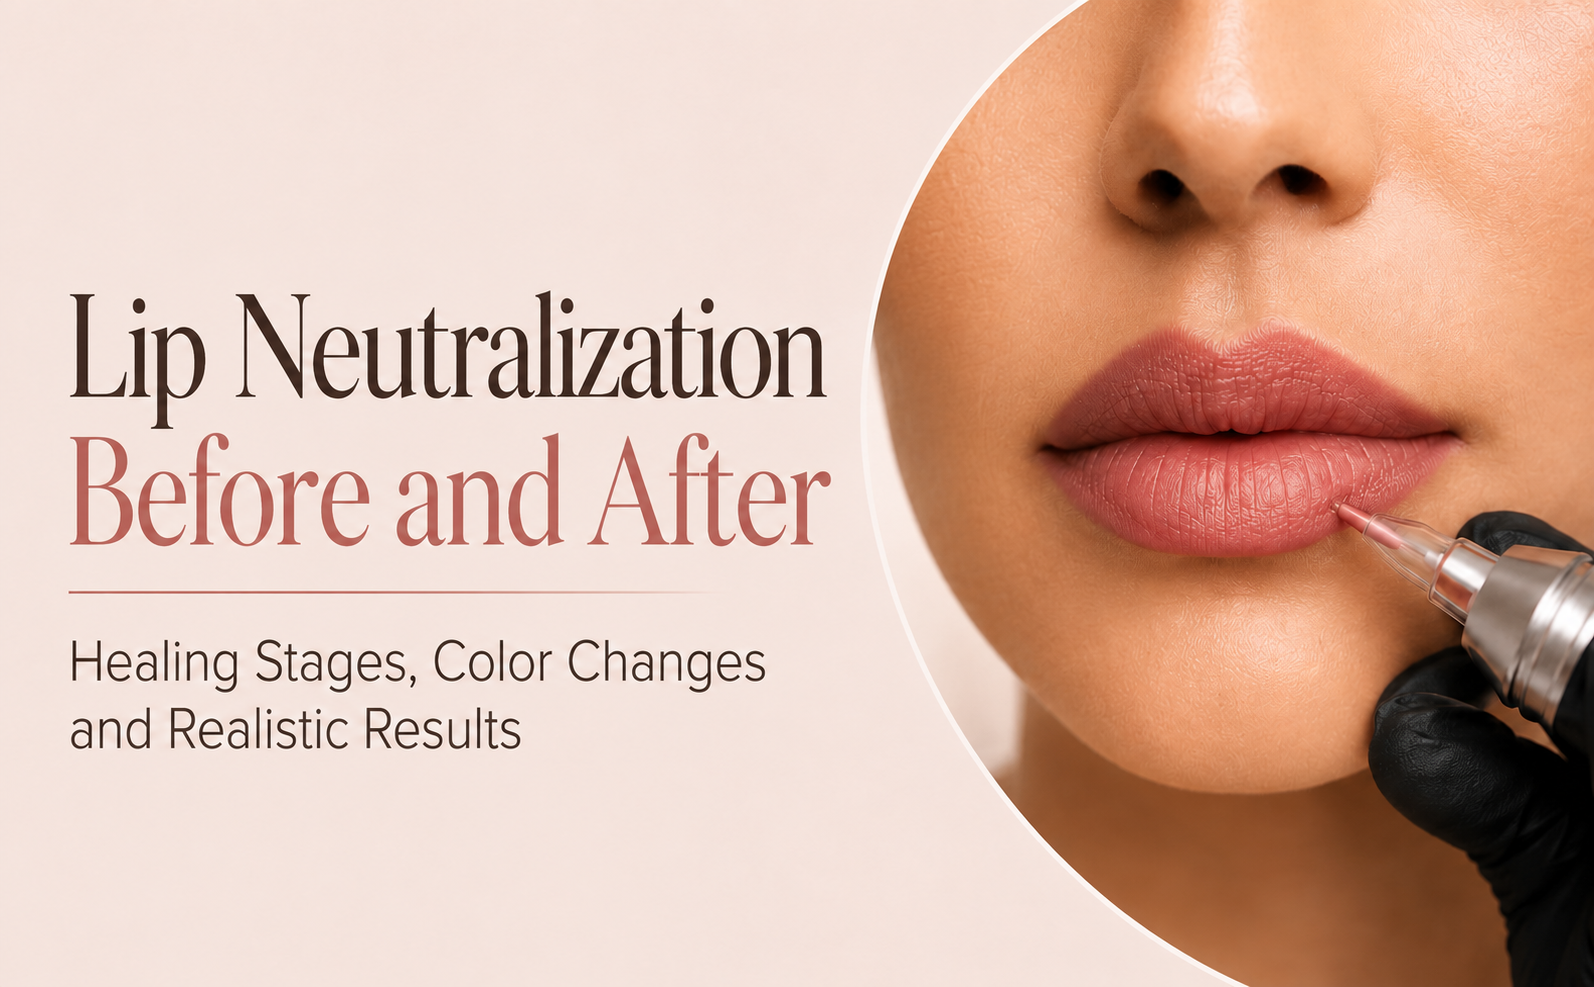
Looking at lip neutralization before and after photos can make the treatment appear simple: dark or cool-toned lips are treated, and the final image shows a warmer, more balanced result. In reality, the transformation happens gradually.
Fresh corrective pigment can look bright orange, coral, peach, red, or warmer than expected. The lips may then become dry, peel lightly, and appear much lighter before the color begins to settle. For clients receiving dark lip neutralization, more than one complete treatment and healing cycle may be necessary.
Understanding the process before booking helps you set realistic expectations and avoid unnecessary concern during healing.
At Beverly Microblading Center, each lip neutralization in Los Angeles treatment is customized according to the client’s natural lip pigmentation, undertone, previous cosmetic tattooing, and desired result. Our Westwood studio welcomes clients from Beverly Hills, Brentwood, Santa Monica, Century City, Bel Air, Culver City, and surrounding neighborhoods.
This guide explains what lip neutralization before and after results can look like, how the pigment changes during healing, what affects the outcome, and how to protect your results with proper aftercare.
What Is Lip Neutralization?
Clients often ask, “What is lip neutralization?”
Lip neutralization is a specialized cosmetic tattoo technique that uses corrective pigments to balance the appearance of dark, cool, gray, purple, blue, brown, or uneven natural lip tones.
An experienced artist studies the undertones within the lips and selects a customized lip neutralizer. Warm pigment families such as peach, coral, orange, terracotta, or warm red may be used to visually counteract cool pigmentation.
The first treatment is not always intended to create the final lip color. Its purpose may be to establish a warmer, more even foundation. Once the lips have fully healed, the artist determines whether another correction session or a target lip blush color should be applied.
Some clients search for “lips neutralization,” dark lip correction, or a neutralizing lip tattoo. These phrases usually refer to the same process of balancing the natural lip base with corrective pigment.
What Can Lip Neutralization Improve?
Lip neutralization may improve the visible appearance of:
- A darker upper lip and lighter lower lip
- Purple, blue, or gray undertones
- Brown pigmentation around the border
- Uneven patches
- Previous lip pigment that healed too cool
- A dull or ashy-looking lip tone
- Lips that require frequent color-correcting makeup
- Natural pigmentation that needs balancing before lip blush
The treatment is not designed to bleach the lips or remove natural melanin. It also cannot guarantee one exact shade for every client.
A successful result should look like a more balanced version of the client’s natural lips, not an artificial layer of opaque color.
Lip Neutralization Before and After: What Changes?
The most visible changes usually involve tone, warmth, and consistency.
Before Treatment
The lips may appear:
- Darker around the outer border
- Cooler in the upper lip
- Purple or gray in certain areas
- Uneven from one side to the other
- Difficult to cover with a neutral lip product
- Patchy or inconsistent
After Complete Healing
The lips may appear:
- Warmer
- More balanced
- Softer around darker areas
- More consistent between the upper and lower lip
- Better prepared for a target color
- Less dependent on daily corrective cosmetics
A true lip neutralizer before and after comparison should include fully healed results. Fresh photographs alone can be misleading because corrective pigment is intentionally brighter and warmer immediately after application.
Why Fresh Lip Neutralization Looks So Bright
One of the most common concerns is the intensity of the fresh color.
Corrective pigment may look orange, peach, coral, warm red, or even brighter than the client expected. This does not mean the lips will remain that color.
The warmth is selected to interact with the existing cool or dark undertone. As the lips heal, the pigment softens and combines visually with the natural base.
Fresh color may also look more dramatic because of:
- Temporary swelling
- Surface irritation
- Freshly deposited pigment
- Increased border definition
- Moisture from treatment products
- Stronger color before peeling
The healed result should always be evaluated several weeks later.
Lip Neutralization Healing Process
The lip neutralization healing process occurs in stages. Individual healing varies, but the following timeline explains what many clients experience.
Days 1–2 — Bright Corrective Pigment
Immediately after treatment, the lips may appear significantly warmer and brighter than the intended final result. Peach, orange, coral, or red tones may be visible.
Mild swelling, tenderness, tightness, or sensitivity can occur. The border may look sharper because the lips are freshly treated.
Avoid touching the area unnecessarily and follow your artist’s cleaning and aftercare instructions carefully.
Days 3–5 — Dryness and Light Flaking
As the lips begin repairing, they may feel dry or tight. Small flakes can develop, and the color may appear uneven as different areas heal at different rates.
Do not pull, peel, bite, or scrub the lips. Removing flakes early can take pigment with them and create lighter patches.
Use only the aftercare product recommended by your artist.
Days 5–10 — Temporary Color Loss
After peeling, the pigment may look much lighter or seem to have disappeared.
This temporary fading is common during the lip neutralization healing process. Fresh skin can make the pigment less visible while healing continues underneath.
Do not judge your final result during this stage. The color may gradually become more noticeable over the following weeks.
Weeks 2–4 — Pigment Begins to Settle
The corrective color starts blending with the natural lip tone. Strong warmth usually becomes softer, and the lips may begin to look more balanced.
The upper and lower lips may still heal differently. Darker areas can retain pigment differently from lighter areas, especially after the first session.
Weeks 4–8 — Healed Result Evaluation
Once the lips have fully healed, your artist can evaluate:
- Remaining cool undertones
- Pigment retention
- Upper and lower lip balance
- Border consistency
- Whether another correction session is needed
- Whether the lips are ready for a target shade
One treatment may create visible improvement without completing the full correction. This is especially common when the original pigmentation is deep, cool, or uneven.
Normal Healing vs Warning Signs
Mild swelling, tenderness, dryness, flaking, and temporary color changes may occur during normal healing.
Contact your artist and seek appropriate medical evaluation if you experience:
- Severe or worsening pain
- Significant swelling that continues to increase
- Spreading redness or warmth
- Pus or unusual discharge
- Fever
- Extensive blistering
- Difficulty breathing or swallowing
- A strong allergic-type reaction
- Symptoms of an active cold-sore outbreak
Lip neutralization is a cosmetic tattoo procedure, so proper sanitation, aftercare, and professional monitoring are important.
Why Some Areas Heal Lighter Than Others
Pigment retention is not always identical across the entire lip surface.
Certain areas may heal lighter because of:
- Natural pigmentation differences
- Scar tissue
- Skin texture
- Uneven dryness or peeling
- Individual healing response
- Previous cosmetic tattooing
- Friction during recovery
- Picking or peeling
- Inconsistent aftercare
A darker upper lip may require more than one session before it matches the lower lip more closely. The corners and border can also respond differently from the center.
This is one reason a follow-up appointment is often considered part of the complete treatment.
Why Lip Neutralization May Require Multiple Sessions
Dark lip correction is usually performed gradually.
A client may need:
- One initial neutralization session
- A second corrective session
- A third session for deeper pigmentation
- A later lip blush color appointment
- A perfecting touch-up
The number of sessions depends on:
- Natural pigmentation depth
- Strength of blue, gray, or purple undertones
- Difference between the upper and lower lip
- Existing tattoo pigment
- Scar tissue
- Desired final shade
- Pigment retention
- Healing response
Trying to force a dramatically lighter or pinker result in one appointment can lead to excessive saturation or an unpredictable healed color.
A cautious, staged approach allows the artist to adjust the pigment formula after each healed result.
Lip Neutralization Aftercare
Proper aftercare supports a smoother recovery and more even pigment retention.
During early healing:
- Keep the lips clean as directed
- Wash your hands before touching the area
- Use only the recommended aftercare product
- Avoid picking, peeling, biting, or rubbing
- Use clean cups, utensils, towels, and pillowcases
- Take smaller bites if the lips feel tender
- Avoid stretching the mouth unnecessarily
During the first week or until your artist approves, avoid:
- Lipstick
- Lip gloss
- Neutral lip liner
- Neutral lip stain
- Lip scrubs
- Exfoliating skincare
- Swimming pools
- Hot tubs
- Saunas
- Steam rooms
- Heavy sweating
- Prolonged sun exposure
- Kissing while the skin is actively healing
- Sharing lip products or utensils
- Spicy, acidic, salty, or very hot foods when irritating
The treated lips should be allowed to heal without unnecessary friction or cosmetic buildup.
What Products Can You Use During Healing?
Use only products approved by your artist.
Avoid experimenting with:
- Fragranced balms
- Essential oils
- Exfoliating lip masks
- Strong ointments
- Antibiotic products without medical guidance
- Home remedies
- Tattoo-removal products
- Acid-based skincare
Products that feel harmless on normal skin may irritate newly treated lips.
Once the area has fully healed, you can return to your normal lip makeup routine.
Neutral Lip Liner vs Lip Neutralization
A neutral lip liner is a temporary cosmetic product that adds border definition and can help disguise uneven pigmentation.
The best neutral lip liner depends on the client’s skin undertone, natural lip color, and preferred lipstick shade. Common choices include:
- Brown nude
- Pink nude
- Peach nude
- Muted rose
- Mauve
- Soft berry
The best neutral lip liners can improve daily makeup, but they do not permanently change the visible lip base.
Lip neutralization creates a longer-lasting foundation. After healing, liner can still be applied whenever extra definition is desired.
Neutral Lip Stain vs Lip Neutralization
A neutral lip stain provides temporary surface color. It may last longer than some lipsticks but still fades with eating, drinking, cleansing, and daily wear.
Lip neutralization places corrective pigment into the lips and develops over several weeks.
Choose a neutral lip stain when you:
- Want temporary color
- Enjoy changing shades often
- Do not want a healing period
- Prefer a non-tattoo option
Consider lip neutralization when you:
- Regularly cover the same dark or cool areas
- Want a more consistent base
- Are comfortable with gradual cosmetic tattooing
- Understand that several sessions may be needed
Lip Neutralization vs Lip Blush
The comparison between lip neutralization vs lip blush is important because the treatments begin with different goals.
Lip Neutralization
Neutralization is designed to correct or balance dark, cool, or uneven pigmentation.
The artist may use warm corrective colors that are different from the client’s eventual preferred shade.
Lip Blush
Lip blush is designed to add a target cosmetic color to lips that already have a suitable base.
Possible lip blush shades include:
- Pink
- Nude
- Rose
- Peach
- Coral
- Berry
- Mauve
When considering lip blush vs lip neutralization, neutralization is usually the corrective stage, while lip blush is the enhancement stage.
Some clients need only lip blush. Others need neutralization first and a target shade later.
How to Choose Neutral Lip Colors After Healing
After the corrective stage, clients may choose from several neutral lip colors depending on the healed base.
Possible options include:
- Warm nude
- Pink nude
- Muted rose
- Peach
- Brown rose
- Soft coral
- Natural berry
- Warm mauve
The most flattering neutral lip color should complement the skin undertone and remain wearable without makeup.
A shade that looks neutral on one person may look too pale, cool, or bright on someone else. Your artist should select or mix pigment according to your healed lips rather than relying on a standard formula.
Lip Neutralization Touch-Ups
Initial Touch-Up
The first touch-up is typically scheduled after complete healing, often around six to eight weeks after the initial appointment.
During this session, the artist evaluates:
- Pigment retention
- Remaining dark or cool areas
- Color consistency
- Border definition
- Upper and lower lip balance
- Whether the corrective formula should change
Additional Neutralization Sessions
Clients with deeper pigmentation may require another correction session instead of a final target color.
The artist may repeat the same pigment family or create a modified blend based on the healed result.
Maintenance Touch-Ups
Once the desired result has been achieved, maintenance sessions can refresh faded color and restore definition.
Longevity
Neutralized pigment may remain visible for approximately two to three years, although results vary. Natural pigmentation, sun exposure, skincare, smoking, lifestyle, and maintenance can influence fading.
Lip Neutralization Cost
The lip neutralization cost depends on the complexity of the treatment plan.
Pricing may be affected by:
- Pigmentation depth
- Difference between the upper and lower lip
- Previous cosmetic tattooing
- Number of sessions
- Custom pigment formulation
- Scar tissue
- Included touch-ups
- Whether a later lip blush session is required
A complex dark lip correction may require more time and appointments than a standard lip blush service.
Clients searching for lip neutralization near me should compare artist experience, healed work, studio sanitation, consultation quality, and touch-up policies—not just the lowest price.
How to Review Lip Neutralization Before and After Photos
A strong portfolio should include:
- Natural lips before treatment
- Fresh corrective pigment
- Fully healed results
- Multiple treatment sessions
- Different natural lip tones
- Upper and lower lip balancing
- Realistic lighting
- Minimal editing
Look for gradual improvement rather than dramatic artificial color.
The best lip neutralizer before and after result should respect the natural lip border and show a softer, more balanced tone.
Choosing a Lip Neutralization Artist in Los Angeles
An experienced artist should understand corrective color theory, pigment behavior, healing, and the limitations of dark lip work.
Before booking, review:
- Healed neutralization results
- Experience with different skin and lip tones
- Multi-session cases
- Sanitation practices
- Pigment selection process
- Touch-up policy
- Aftercare guidance
- Honest explanations of expected results
At our Westwood studio, clients from Century City appreciate convenient access around busy schedules. Clients visiting from Beverly Hills or Bel Air may prefer refined neutral tones, while Santa Monica, Brentwood, and Culver City clients often prioritize a low-maintenance base that works beneath everyday makeup.
Frequently Asked Questions
What is lip neutralization?
Lip neutralization is a cosmetic tattoo technique that uses corrective pigment to balance dark, cool, gray, purple, brown, or uneven lip tones.
What will my lips look like immediately after treatment?
Fresh pigment may appear orange, peach, coral, red, or much warmer than the final result.
How long does the lip neutralization healing process take?
Surface healing often improves within about one week, while the pigment may need four to eight weeks to settle fully.
Why did my pigment become lighter after peeling?
Temporary fading can occur when new skin forms over the treated area. The color may become more visible as healing continues.
How many sessions will I need?
Some clients need two sessions, while deeper or more uneven pigmentation may require several appointments.
What is lip neutralization vs lip blush?
Lip neutralization corrects the natural base tone. Lip blush adds a preferred cosmetic color after the lips have a suitable foundation.
Can I wear neutral lip liner during healing?
No. Wait until the treated lips are completely healed before applying liner, lipstick, gloss, or stain.
What does lip neutralization before and after look like?
The lips may look warmer, softer, and more consistent after healing. Results develop gradually and vary between clients.
How much does lip neutralization cost?
Pricing depends on pigmentation complexity, artist experience, previous tattooing, custom pigment needs, and the number of sessions.
Will lip neutralization make my lips pink?
Not automatically. The initial goal is balance. A pink or nude target shade may be added later if the healed base is suitable.
See the Difference a Balanced Lip Tone Can Make
Professional lip neutralization in Los Angeles can help soften the appearance of dark, cool, or uneven pigmentation and create a more harmonious foundation for your preferred lip color.
Beverly Microblading Center provides customized undertone analysis, corrective pigment planning, detailed aftercare, and staged treatment from our Westwood studio.
We welcome clients from Beverly Hills, Brentwood, Santa Monica, Century City, Bel Air, Culver City, and nearby Los Angeles neighborhoods.
Book your complimentary consultation to review realistic before-and-after results and receive a treatment plan designed for your natural lip tone.
Book Your Free Consultation
Get expert advice and a personalized treatment plan—no commitment required